
Public Folders have been on the way out ever since Exchange 2007 but there are still organizations that are slow to migration to “better” options (IE, Shared Mailboxes or Sharepoint sites).
Previous processes required migration before moving mailboxes however the Hybrid process will allow the migration of end user mailboxes up to Exchange Online while at the same time providing additional time for moving the data to other options.
The biggest “gotcha” of this scenario requires the configuration of the CAS role to be added to the server hosting the public folder database
https://technet.microsoft.com/en-us/library/dn690134(v=exchg.150).aspx
The key comment in the Technet blog spelling this out starts with:
The addition of the CAS role will ensure public folder replica referrals happen appropriately if a folder a user is accessing does not have a local replica in the PFDB.
Exchange Online uses RemotePublicFolderMailboxes on the on-premises server with the public folder database in conjunction with the Client Access Server role.
We also need a dedicated mailbox database and mailbox because of how RPC client traffic is relayed thru this role.
In an Exchange 2010 CAS array environment, mailbox databases are stamped with the array name. This won’t work in routing RPC client access traffic properly, thus the separate database.
I had the priviledge of setting this up in an Exchange 2010 hybrid environment and wanted to share a few “gotchas” I encountered.
Let’s take our Mailbox server with the Public folder database, OCEX04

In reviewing the prerequisites for adding this role, since this server only housed the Mailbox role we will need to add additional Windows Features to support the Client Access Server role:
Contents
Prerequisites
First off, we need to run Import-Module ServerManager then we can get the feature state:
Get-WindowsFeature NET-Framework,RSAT-ADDS,Web-Server,Web-Basic-Auth,Web-Windows-Auth,Web-Metabase,Web-Net-Ext,Web-Lgcy-Mgmt-Console,WAS-Process-Model,RSAT-Web-Server,Web-ISAPI-Ext,Web-Digest-Auth,Web-Dyn-Compression,NET-HTTP-Activation,Web-Asp-Net,Web-Client-Auth,Web-Dir-Browsing,Web-Http-Errors,Web-Http-Logging,Web-Http-Redirect,Web-Http-Tracing,Web-ISAPI-Filter,Web-Request-Monitor,Web-Static-Content,Web-WMI,RPC-Over-HTTP-Proxy,Desktop-Experience

We can add these via Powershell – you should be able to add them without a “Restart Needed”
Add-WindowsFeature NET-Framework,RSAT-ADDS,Web-Server,Web-Basic-Auth,Web-Windows-Auth,Web-Metabase,Web-Net-Ext,Web-Lgcy-Mgmt-Console,WAS-Process-Model,RSAT-Web-Server,Web-ISAPI-Ext,Web-Digest-Auth,Web-Dyn-Compression,NET-HTTP-Activation,Web-Asp-Net,Web-Client-Auth,Web-Dir-Browsing,Web-Http-Errors,Web-Http-Logging,Web-Http-Redirect,Web-Http-Tracing,Web-ISAPI-Filter,Web-Request-Monitor,Web-Static-Content,Web-WMI,RPC-Over-HTTP-Proxy,Desktop-Experience

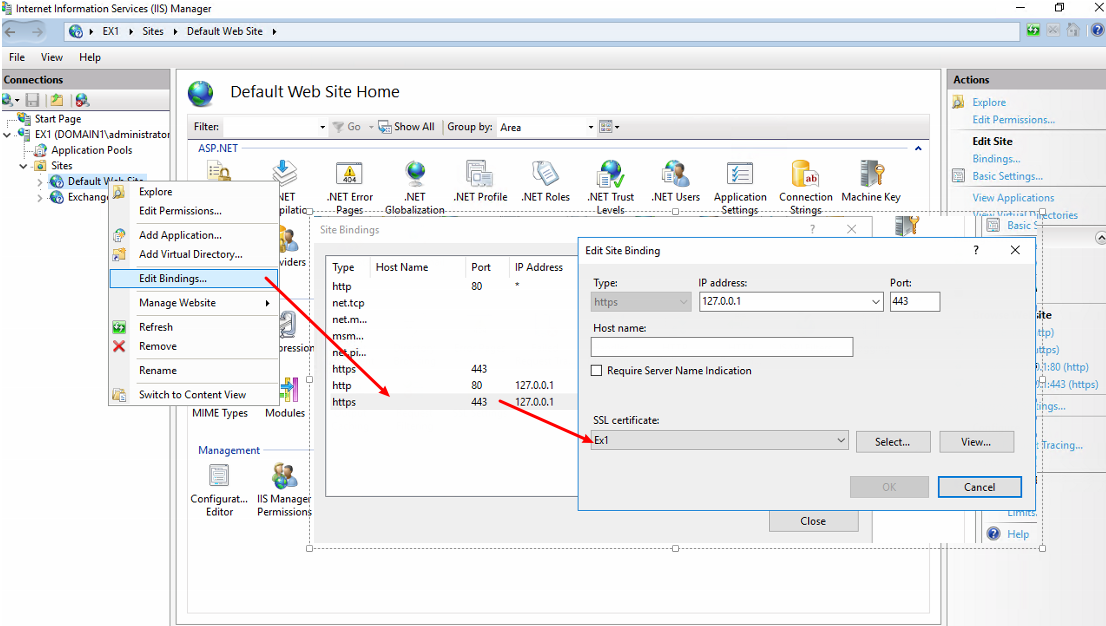
Next, we’ll want to “prestage” an SSL certificate for our needs – this way we avoid our user population getting “unsigned certificate” popups in Outlook!
This works by using a certificate from the internal CA, since the server will not be internet-facing and all machines are domain-joined with the root CAs loaded.

After we install in the private root store, we assign this certificate to IIS services now


NOTE: Services will still reflect None when complete however when we proceed with the install
We do not need to set the URLs as they are predefined for internal use.
Ensure that the URLs are the FQDN of the server and what is on your SSL certificate!!
The internal URLs are set as part of the role setup. We can however use the following cmdlets to validate the URLs
get-ClientAccessServer | FT AutodiscoverServiceInternalUri
get-webservicesvirtualdirectory | FT internalurl,externalurl
get-oabvirtualdirectory | FT internalurl,externalurl
get-owavirtualdirectory | FT internalurl,externalurl
get-ecpvirtualdirectory | FT internalurl,externalurl
get-ActiveSyncVirtualDirectory | FT internalurl,externalurl
get-AutodiscoverVirtualDirectory | FT internalurl,externalurl
Now run setup to add the role.
On-Premises Role Setup
First grab (and if necessary, expand) your Exchange 2010 SP3 media on disk.
Next, open Powershell as Administrator and browse to your SP3 media folder and run the following cmdlet:
setup /m:install /r:ca
NOTE: Typically this does not stop any existing role services during install, but YMMV (your milage may vary).
Once the Client Access Server role is added to the server, you will want to reinstall the same version of cumulative update (CU) as most recently patched. In our environment this was CU10.
This will require a service outage as it does stop all services.
The upside is that, because we’ve run this once for the Mailbox role, it should go very quickly. On our non-production server, it was somewhere in the 10 minute range.
After roll installation and CU reinstall, test trying to access a mailbox on the server by going to https://ocex04.domain.com/owa
This validates that the proxy functionality of the Client Access Role is working – this is how public folder access happens.
Now we follow the instructions on Technet.
Exchange Online Configuration
We also need to configure the new database to be excluded from provisioning, as well as with the RPC server information:
Set-MailboxDatabase DBTemp1 -IsExcludedFromProvisioning $true
Set-MailboxDatabase DBTemp1 -RPCClientAccessServer ocex04.domain.com
NOTE: Don’t forget to add the RPCClientAccessServer value as the local server name, otherwise you will see an error later when trying to access in Outlook like this:
![]()
We create the user PFDiscovery user on the DBTemp1 mailbox database on OCEX04. , so let’s note the UserPrincipalName for the next step.
![]()
Next, let’s fire up an Exchange Online powershell session and run to check the status of Public Folders in the cloud
Get-OrganizationConfig | fl PublicFoldersEnabled,RemotePublicFolderMailboxes
It should return Local only state and no remote mailboxes currently

Now we can set the configuration (note – we want to use the UPN of the RemotePublicFolderMailboxes)
Set-OrganizationConfig –PublicFoldersEnabled Remote
Set-OrganizationConfig –RemotePublicFolderMailboxes resource199@domain.com

At this point we should be ready to go! NOTE: It may take a little while for the Exchange Online settings to replicate.
So how do you know if it worked?
With Outlook open:
· Hold down the CTRL key, and then right-click on the Outlook icon in the notification area on the right side of the Windows task bar.
· Select Test E-Mail Auto Configuration…
· Make sure the Text E-mail Auto Configuration tool returns the PublicFolderInformation section within the XML tab:

In the Outlook client, perform the following tasks:
- · View the public folder hierarchy.
- · Check permissions.
- · Create and delete public folders.
- · Post content to and delete content from a public folder.


With Outlook open:
· Hold down the CTRL key, and then right-click on the Outlook icon in the notification area on the right side of the Windows task bar.
· Select Connection Status…
· Look for an entry of Type “Exchange Public Folders” returning your on-premises server

What happens if it does?
This is a recent addition as I’ve had an opportunity to work with a client in a complex Exchange 2010 server with multiple public folder servers to remediate. Here are a few scenarios
Random users see public folders after being moved to Exchange Online
Connectivity to the public folder databases via the proxy mailboxes is very “at random” and I have not been able to determine a method to their madness. One thing to note however is the strict adherance to ensuring that the Client Access Role IS INSTALLED ON ALL PUBLIC FOLDER SERVERS (sorry for the CAPS, but it has to be stressed).
If you setup the proxy databases with mailboxes…….

But don’t setup the Client Access Server role (in this case, Discovery and Endeavor houses public folder databases but didn’t have the role), you may not see the public folders

Otherwise, edit your Organization Config in Exchange Online to only have the mailboxes you’re using. Here we eliminated Discovery and Endeavor
Set-OrganizationConfig -PublicFoldersEnabled Remote -RemotePublicFolderMailboxes PublicFolderMailbox_PublicFolderProxyDB_CURIOSITY, PublicFolderMailbox_PublicFolderProxyDB_LUNAR, PublicFolderMailbox_PublicFolderProxyDB_MERCURY, PublicFolderMailbox_PublicFolderProxyDB_OPPORTUNITY
I can access public folders on-premises or via VPN, but I can’t over the internet
In our scenario, there was a Microsoft Threat Management Gateway (TMG) in the mix as the Reverse Proxy, and while we validated that the necessary URLs were published (read more at https://o365info.com/hybrid-deployment-office-365-checklist-pre-requirements-part-13/), they still could not perform proxy connectivity to the database. We have a ticket open with Microsoft that can hopefully shed some light.


[…] Before you start the public folder migration, and before you even start migrating mailboxes, set your organization config to use remote public folders. The public folders listed here would be mailboxes that exist on a database that also exists on your public folder servers. In some cases, you may need to deploy and configure the CAS role as well as create a mailbox. I go into this in one of my other blogs […]