Contents
Intro
")
Updated on 4/3/2024: includes Windows 10 steps & removes Insider Program requirement for Windows 11
With the ability to kickstart your AI-powered experience. Copilot in Windows bring you exciting capabilities to enhance your creativity and productivity. With Microsoft 365 CoPilot still a ways out for everyone outside of Enterprise Licensing channels, dipping your toes in some of the features that are here and now is the way to get exposure to complementary tools.
I’ve had a number of customers ask how to get access NOW, and there are some caveats that must adhered to – these are spelled out in this guide!
Step 1 – Install from Scratch
Windows 10/11 Feature Build
If you have a machine you can build from scratch, deployment via ISO is going to be your best option.
To get started, hop over the page:
Download Windows 11 ISO (microsoft.com)- 23H2
Download Windows 10 Media Creation Tools – 22H2
From there, I like to use the Rufus tool to quickly and easily create a bootable USB drive with mSO
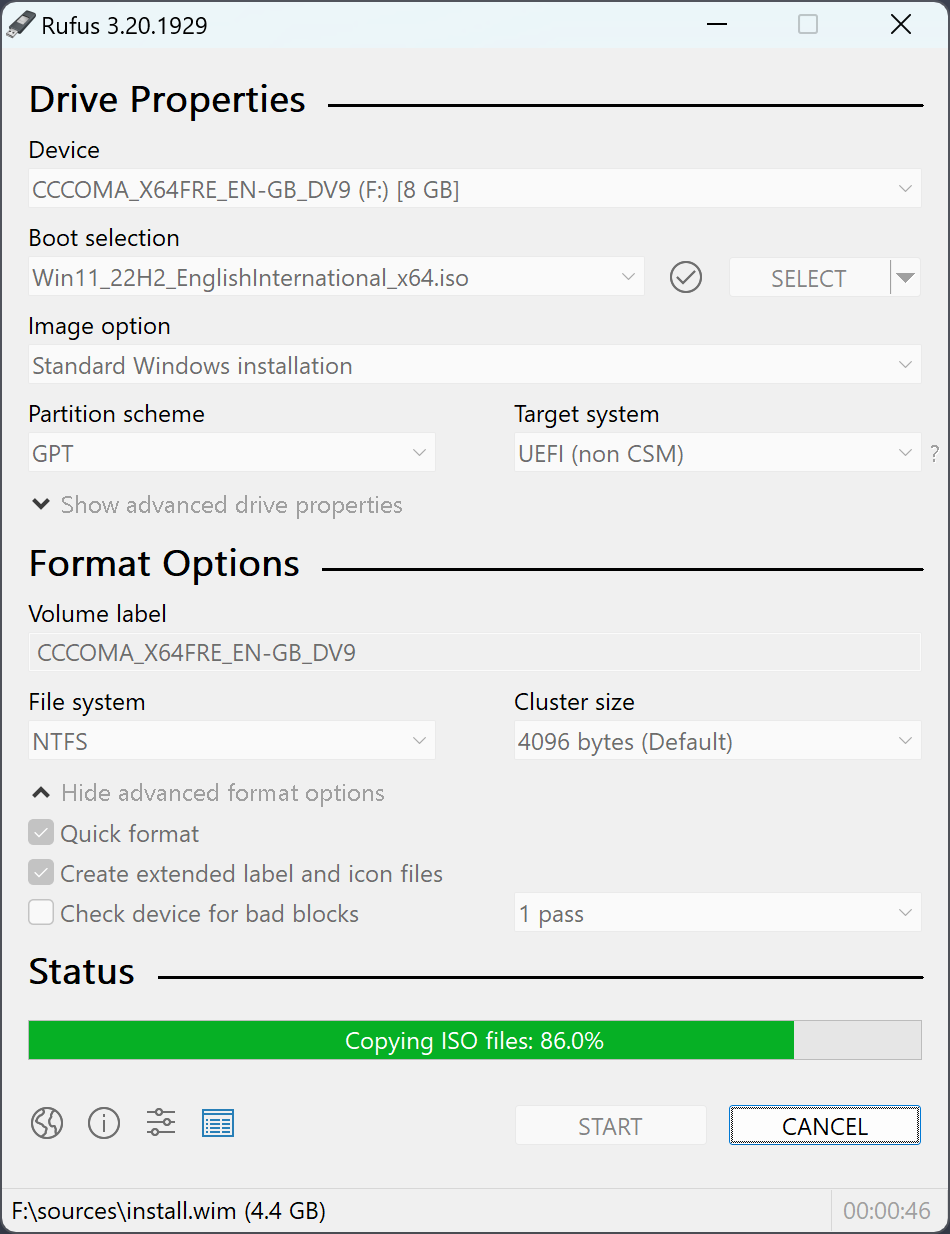
From there, its off to the races!
Windows 10 Quality Update
For Windows 10, you will need at a minimum the November 30, 2023—KB5032278 (OS Build 19045.3758) quality update installed for the remainder of these steps to work properly. If you’re updated thru March 2024 then you’re good to go 👍
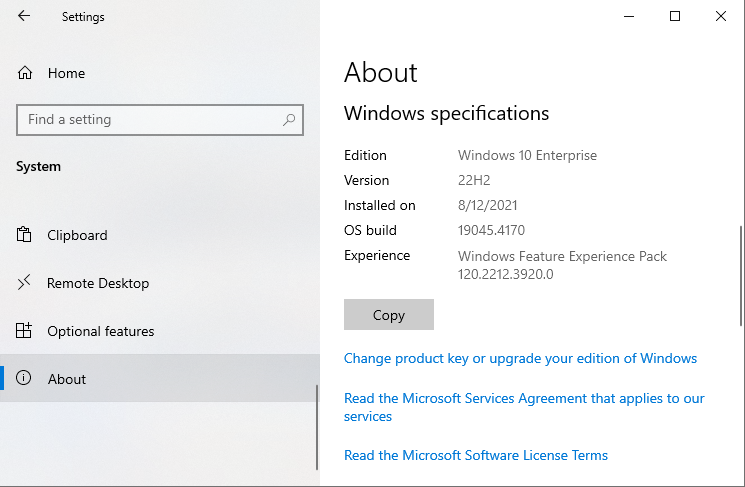
I ran into issues with my Windows Update for Business settings being outdates, even to the point of my Feature Update being locked into 21H2 (ouch 😨). We’ll touch on some recommended Intune settings in the next section.
Option 2: Windows Update
IF you have an existing machine that you’re looking to update without the scorched earth approach, you’ll want to leverage Windows Update to make this possible using the following steps:
Check your update ring
Either as an IT administrator or working with your IT team, be sure you’re in the right update ring.
Be sure if you’re applying the retail channel that your feature and quality updates are also correctly configured.

For feature updates ensure that you have the correct versions being pushed for each operating system

Then finally for your quality updates ensure you are pushing the latest versions (specifically for Windows 10)

It’s futile to change these settings via the registry (which is possible) however your company policies will revert this back to what is applied.
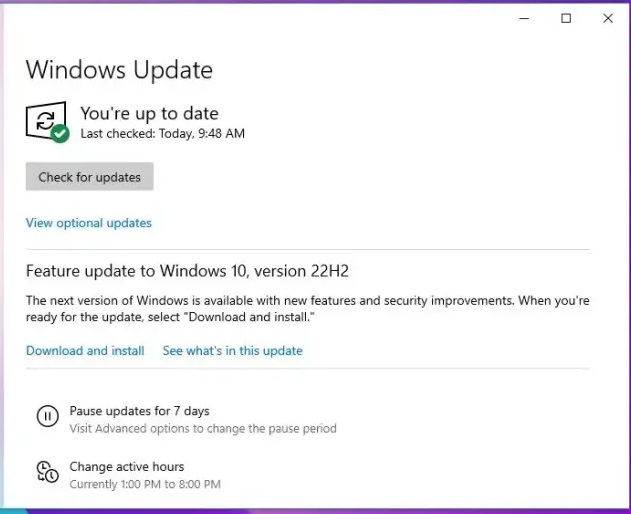
Install the new Build
After you’ve checked for updates, you should see 23H2 for Windows 11 available

You should also see 22H2 for Windows 1
Additional Steps for Windows 10
For Windows 10 I had to perform 2 additional steps to get Copilot to be active:
Run Vivetool Update
Download the vivetool from https://github.com/thebookisclosed/ViVe/releases/download/v0.3.3/ViVeTool-v0.3.3.zip
Extract to a folder on C: (I always dump things like this under c:\Temp)
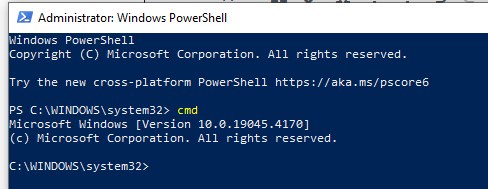
Open Windows Powershell (admin) then type cmd to switch to command prompt
(yes, this is necessary because it wont run under powershell – i tried and failed 😂)
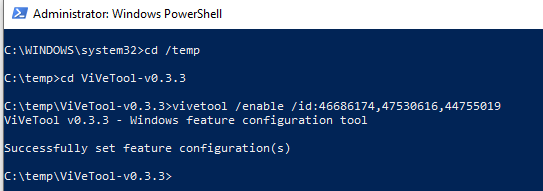
Switch to your vivetool directory and then run:
vivetool /enable /id:46686174,47530616,44755019
You should see a “Successfully set feature configurations(s)” message
Add Registry Keys & value
Open regedit and add the 2 keys under Shell: Copilot then BingChat
HKEY_CURRENT_USER\SOFTWARE\Microsoft\Windows\Shell\Copilot\BingChat
Then, under the BingChat key, add DWORD (32-bit) value named IsUserEligible with a value of 1

Reboot and Activate Copilot
Once the updates and additional settings are applied, REBOOT!
Windows 10
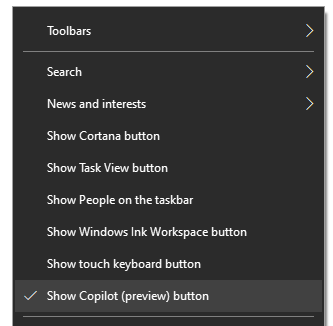
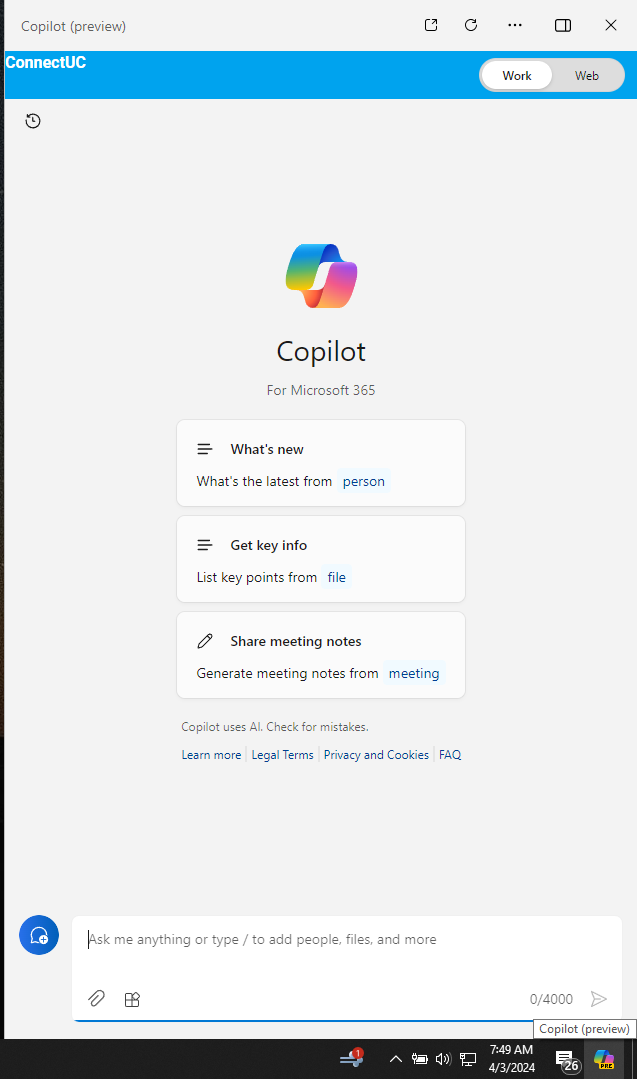
Once we rebooted, right-clicking on the taskbar reveals the Copilot button option was checked
AND we also have a Copilot button on the far right of the taskbar that when clicked brings up the search pane, where we can switch between work and web experiences:
Windows 11
Right-click on the taskbar and select Taskbar settings
Move the slider over to activate Copilot (preview).

You should see the icon on the taskbar to activate the Copilot panel, or you can also click WIN + C to activate it.


In Closing
Windows AI-enabled features are just the tip of the iceberg of the exciting business process improvements that Microsoft clients are beginning to start leverage NOW and more over the coming months. Be sure to follow my journey working with clients to bring the future of work to their organizations.
Enable Windows Insider Program settings
This is no longer needed to install Copilot but its always cool to stay ahead of the curve on new builds and features
Step 1: Register for the Windows Insider Program online
https://www.microsoft.com/en-us/windowsinsider/register
You need a Microsoft account – using your Work account is going to be the BEST choice (and tied to you Azure Active Directory login)

Agree to the Terms & Conditions

Once you’ve registered, you’re ready to take off!

Step 2: Activate the Windows Insider Program in Windows
https://www.microsoft.com/en-us/windowsinsider/for-business-getting-started#flight
There are 2 “gotchas” here:
1. “You must be running a licensed version of Windows on your device” so you wont be able to use a trial version in a test VM (hint: it must be activated).

2. “You must be an administrator on your device to see this setting”, so you’ll need to be logged in with proper credentials on your device to see the “Windows Insider Preview” settings blade in Windows Update
If you meet those criteria, you’re ready to hit Open Settings

Once your “flighted”, you’’ be prompted to reboot.

Once complete, search for Windows Update settings again and go to the Windows Insider Program blade

You might see that you’re on the latest build of Windows 11 – this is normal.
So let’s take a step back and check for updates.